Are you tired of those old pinstripes on your car? Maybe they’ve faded or don’t match your style anymore. If you want to remove vinyl pinstripes, it can refresh your vehicle’s look. However, it’s crucial to do it right. Using improper tools, excessive heat, or aggressive solvents can lead to serious paint damage. This includes scratches or peeling, especially if your paint is already compromised. Taking your time and following the correct process to remove vinyl pinstripes will help you achieve the best results without harming your car’s finish.
Key Takeaways
Identify the type of pinstripe on your car. Vinyl pinstripes are easier to remove than painted ones.
Use a heat gun or hair dryer to soften vinyl pinstripes before peeling them off. This prevents paint damage.
Always pull pinstripes at a 45-degree angle. This technique reduces the risk of scratching the paint.
Clean the area after removal with isopropyl alcohol or a safe adhesive remover. Avoid harsh chemicals that can harm the paint.
Apply wax or sealant after removal to protect your car’s paint and enhance its shine.
Pinstripe Types
When it comes to pinstripes, you’ll find two main types: vinyl and painted. Understanding the differences between them is key to a successful removal process.
Vinyl Pinstripes
Vinyl pinstripes are adhesive-backed strips that you can easily apply to your car. They come in various colors and styles, making them a popular choice for customization. Here are some important points about vinyl pinstripes:
Lifespan: Depending on the type of vinyl, they can last anywhere from 6 months to 7 years. For instance, cast vinyl typically lasts 5–7 years, while calendered vinyl may only last 6–18 months. Factors like climate and exposure to sunlight can affect their longevity.
Removal Process: You can remove vinyl pinstripes using heat and adhesive removers. This method is less damaging to your car’s paint compared to other techniques. Just be careful not to overheat the area, as excessive heat can cause discomfort and damage.
Painted Pinstripes
Painted pinstripes, on the other hand, are part of the car’s paint job. They are applied directly to the surface and can be more challenging to remove. Here’s what you need to know:
Risks: Removing painted pinstripes can lead to etching of the paint, especially if they’ve been on the vehicle for a long time. You might also face issues like adhesive residue or color differences where the pinstripe was located. This is particularly true for older vehicles, which may have paint that has faded or been damaged by the sun.
Removal Process: The removal of painted pinstripes often requires sanding and solvents. This can be risky, as it may damage the surrounding clear coat. Unlike vinyl, which you can remove with heat, painted stripes may necessitate repainting the entire panel for a clean finish.
Knowing the type of pinstripe on your car is crucial. It helps you choose the right removal method and avoid potential damage. If you’re looking to remove vinyl pinstripes, remember that the process is generally easier and less risky than dealing with painted ones.
Tools and Materials
When you’re ready to tackle the removal of pinstripes, having the right tools and materials can make all the difference. Here’s what you’ll need to get started.
Essential Tools
Heat Gun or Hair Dryer: Use this to soften the adhesive on vinyl pinstripes. Just be careful not to overheat the paint!
Rubber Eraser Wheel: This tool is fantastic for removing vinyl pinstripes without damaging the paint. It efficiently removes adhesives and decals. You can find options like:
3.5” Knobby Slotted Edge Pad for $9.99
Pack of 2 Rubber Eraser Wheels for $15.99
4″ Knobby Slotted Edge Pad for $17.99
Plastic Razor Blades: These are safer than metal blades. They help you scrape off pinstripes without scratching the surface.
Microfiber Towels: Use these for cleaning up afterward. They’re soft and won’t leave scratches.
Recommended Materials
Adhesive Remover: This can help eliminate any sticky residue left behind after you remove vinyl pinstripes. Look for products that are safe for automotive finishes.
Acetone: If you’re dealing with stubborn adhesive, acetone can be effective. Just test it on a small area first to ensure it won’t harm your paint.
Wax or Paint Sealant: After you’ve removed the pinstripes, applying wax or a sealant will protect your car’s paint and restore its shine.
Tip: Always work slowly and carefully. When using an eraser wheel, keep it at a slow speed (around 3,500 RPM) to prevent paint damage. Avoid holding it in one spot for too long to prevent burning the paint from friction heat.
With the right tools and materials, you can confidently remove vinyl pinstripes and give your car a fresh look!
Removal Process
Remove Vinyl Pinstripes
Removing vinyl pinstripes is a straightforward process. Follow these steps to ensure you do it safely and effectively:
Gather Your Tools: Make sure you have a heat gun or hair dryer, rubber eraser wheel, plastic razor blades, and microfiber towels ready.
Heat the Pinstripe: Set your heat gun to a low setting (around 65 degrees Fahrenheit is ideal). Hold it about 6 inches away from the pinstripe. Move it back and forth to evenly distribute the heat. This softens the adhesive, making it easier to peel off.
Peel Off the Pinstripe: Once the vinyl is warm, use your plastic razor blade to gently lift one end of the pinstripe. Slowly pull it away from the surface at a 45-degree angle. If it resists, apply more heat.
Remove Residue: After you’ve pulled off the pinstripe, you might find some adhesive left behind. Use your rubber eraser wheel to gently rub away the residue. This tool is effective and safe for your car’s paint.
Clean the Area: Wipe the area with a microfiber towel to remove any remaining debris. If you notice stubborn adhesive, consider using a solvent like Goo Gone or WD-40. Just remember to test it on a small area first to ensure it won’t harm your paint.
Tip: Avoid aggressive solvents like lacquer thinner unless absolutely necessary. They can damage your paint.
Remove Painted Pinstripes
Removing painted pinstripes is a bit more complex. Here’s how to do it without causing damage:
Assess the Area: Check the condition of the paint around the pinstripe. If it’s old or damaged, proceed with caution.
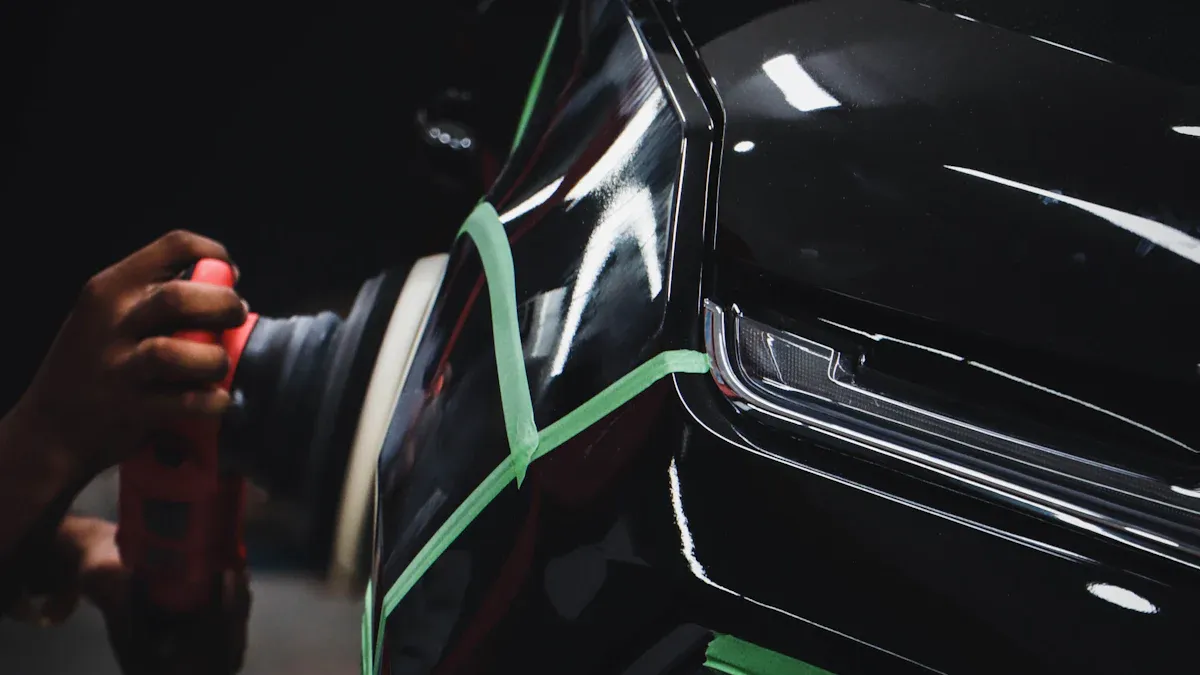
Use an Eraser Wheel: A 3M eraser wheel is highly recommended for this task. It effectively removes painted pinstripes without harming the underlying paint. If you don’t have one, a rubber eraser can serve as an alternative.
Polish the Area: After removing the pinstripe, polish the area to achieve a clean finish. This step helps blend the surface and restore its shine.
Consider Solvents: If you encounter stubborn paint, you might need to use a solvent. However, avoid harsh chemicals that can damage the paint. Instead, opt for milder options and always test them first.
Final Touches: Once you’ve removed the pinstripe and cleaned the area, consider applying a wax or sealant. This protects your car’s paint and enhances its appearance.
Feature | Eraser Wheels | Chemical Solvents |
|---|---|---|
Safety | Non-toxic, safe for surfaces | Can be hazardous |
Effectiveness | Quickly removes decals without damage | May require more time and can leave residues |
Surface Compatibility | Safe on painted and hard surfaces | May damage certain surfaces |
Health Risks | Minimal, as they operate mechanically | Potential health risks from fumes and chemicals |
Note: Always work slowly and carefully. Rushing can lead to mistakes that may damage your car’s finish.
With these steps, you can confidently remove both vinyl and painted pinstripes from your car. Just remember to take your time and use the right tools!
Post-Removal Care
After you’ve successfully removed the pinstripes, it’s essential to take care of your car’s paint. Proper post-removal care helps maintain the finish and protects it from future damage.
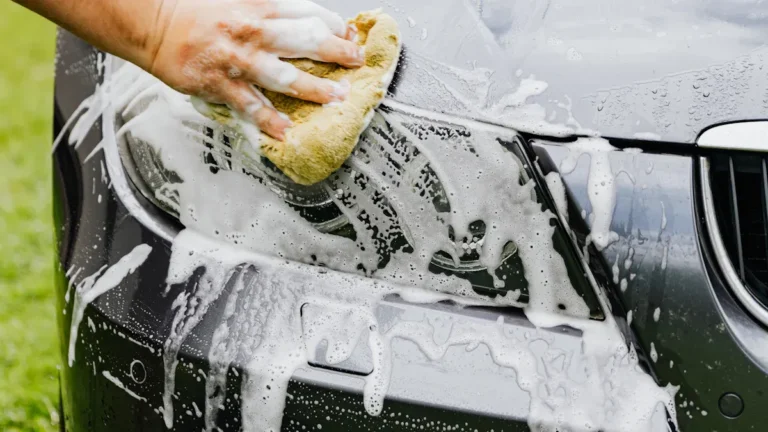
Cleaning the Area
Start by cleaning the area where the pinstripes were. This step ensures you remove any leftover residue that could harm the paint. Here are some effective cleaning methods:
Use ordinary rubbing alcohol to wipe the surface. This helps eliminate any sticky residue and prepares the area for further applications.
Apply adhesive remover to get rid of any glue left behind after the pinstripe removal.
Consider using Goo Gone to wipe off any remaining residue. It’s gentle on the paint but tough on sticky substances.
Tip: Always test any cleaning agent on a small, inconspicuous area first to ensure it won’t damage your paint.
Protecting the Paint
Once the area is clean, it’s time to protect your car’s paint. Applying a protective layer can help prevent scratches and fading. Here are some recommended products:
Meguiar’s Ultimate Compound: This product is great for removing scratches and imperfections. Many users have reported excellent results.
Wax: A good coat of wax after pinstripe removal can shield your car’s paint from future scratches and UV rays.
Sealants: These offer greater chemical resistance than wax, providing longer-lasting protection. Some ceramic coatings can last up to five years, making them ideal for long-term maintenance.
Long-term Benefits:
Protective wax and sealants shield your paint from UV rays, preventing fading and damage over time.
Sealants provide a more durable barrier compared to traditional wax.
Taking these steps will help keep your car looking great for years to come. Remember, a little care goes a long way in maintaining your vehicle’s appearance!
Removing pinstripes can breathe new life into your car, but doing it right is crucial. Here are some key takeaways to remember:
Use the Right Tools: A hair dryer or warm water-soaked microfiber cloth works best for heating vinyl. Avoid using a propane torch or heat gun above 140°F.
Peel Carefully: Always pull the pinstripe at a 45° angle. This technique helps prevent damage to the paint.
Clean Up Properly: After removal, use isopropyl alcohol or dedicated adhesive removers to clean any residue. Steer clear of acetone or steel wool, as they can harm your paint.
“Most ‘irreparable’ stripe damage I see isn’t from the original decal—it’s from people treating it like wallpaper. Vinyl needs warmth, not force.” — Javier Ruiz, ASE-Certified Paint & Refinishing Instructor
Taking these steps ensures a clean finish and enhances your car’s overall appearance. Remember, a well-maintained vehicle not only looks great but also holds its value better. So, take your time and enjoy the process of giving your car a fresh look! 🚗✨
FAQ
What tools do I need to remove pinstripes?
You’ll need a heat gun or hair dryer, rubber eraser wheel, plastic razor blades, and microfiber towels. These tools help you safely remove pinstripes without damaging your car’s paint.
Can I use any adhesive remover?
Not all adhesive removers are safe for automotive finishes. Look for products specifically designed for cars. Always test on a small area first to avoid damage.
How long does the removal process take?
The time varies based on the type of pinstripe and your experience. Generally, expect to spend 30 minutes to an hour for vinyl pinstripes and longer for painted ones.
Will removing pinstripes damage my paint?
If you follow the correct removal process, you can minimize damage. However, painted pinstripes carry a higher risk of paint damage compared to vinyl ones.
Can I repaint the area after removal?
Yes, you can repaint the area if needed. Make sure to properly prepare the surface by cleaning and sanding it before applying new paint for the best results.