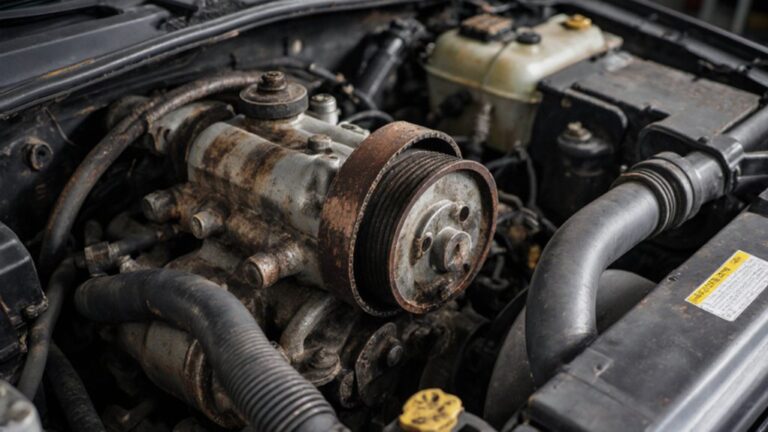
A bad alternator diode plays a critical role in your vehicle’s electrical system. This small component helps ensure that your battery charges properly and that electrical systems operate smoothly. When a diode fails, it can lead to reduced charging capability and erratic voltage output. You may notice symptoms like flickering lights or strange noises from your radio. Recognizing these signs early can help you address issues before they escalate, ultimately maintaining your vehicle’s performance.
Key Takeaways
Flickering lights and whining noises often signal a bad alternator diode. Pay attention to these symptoms to catch issues early.
A faulty diode can cause battery drain, even when the vehicle is off. If you frequently jump-start your car, check the alternator.
Regular maintenance of electrical connections can prevent diode failure. Clean and secure connections to enhance performance.
Testing the diode with a multimeter can reveal its health. Follow proper steps to ensure accurate results and safety.
Seek professional help for serious issues. Experts can perform thorough tests that DIY methods may miss.
Bad Alternator Diode Symptoms
Flickering Lights
One of the most common bad alternator symptoms you may notice is flickering lights. This can happen with both your dashboard and headlights. You might see the lights dim or brighten unexpectedly. In some cases, the flickering occurs rhythmically, especially at lower RPMs. This indicates instability in the electrical system. If you observe your lights flickering, it could mean that the alternator diode is failing to maintain a steady voltage.
Tip: If you notice a flickering battery warning light along with dimming lights, it’s time to investigate further.
Whining Noise
Another telltale sign of a bad alternator diode is a whining noise coming from your vehicle. This sound often resembles a whirring or whine that changes with engine speed. If you unplug the voltage regulator and the noise persists, the issue likely lies within the alternator itself. Many drivers report that this noise coincides with dimming lights and fluctuating charging voltage.
Common symptoms linked to this noise include:
Dimming lights
Flickering battery warning light
Intermittent charging
Battery Drain
A faulty alternator diode can lead to significant battery drain. This occurs when the diode fails, allowing current to flow back from the battery to the alternator even when the engine is off. This process, known as parasitic drain, can leave you with a dead battery. Unlike other electrical issues, a bad diode can drain your battery even when the vehicle is not in use.
If you find yourself needing to jump-start your vehicle frequently, it may be a sign of alternator problems.
Rough Engine Operation
You might also experience rough engine operation if your alternator diode is failing. This can manifest as regular stalling or difficulty starting your vehicle. If the electrical power fluctuates, it can cause the engine to stall while driving. You may notice that the engine struggles to maintain a steady idle, which can be frustrating and dangerous.
Note: If you experience engine stalls or difficulty starting, check for other symptoms like dimming lights or a flickering battery warning light.
Causes of Alternator Diode Failure
Overvoltage
Overvoltage occurs when the electrical system receives too much voltage. This can happen due to faulty voltage regulators or excessive electrical load. When the voltage exceeds the diode’s capacity, it can cause overheating. Overheating damages the diode, leading to failure. You may notice symptoms like flickering lights or battery drain when this happens.
Age and Wear
Like any other component, diodes wear out over time. Age affects their ability to function properly. As diodes age, they become less efficient at converting AC to DC. This inefficiency can lead to a failing alternator. Regular maintenance can help identify worn-out components before they cause significant issues.
Electrical Surges
Electrical surges can occur from sudden changes in the electrical system. These surges may come from external sources, like lightning strikes, or internal sources, such as a malfunctioning component. Surges can overwhelm the diode, causing it to fail. You might experience symptoms like a dead battery or erratic electrical behavior when this happens.
Poor Connections
Poor electrical connections can accelerate alternator diode failure. Loose or corroded connections create resistance in the electrical system. This resistance can lead to excessive drain, causing symptoms like phantom draw. When the electrical system struggles, it can directly impact the diodes, leading to their failure.
Tip: Regularly check and clean electrical connections to prevent these issues.
Preventive Measure | Description |
|---|---|
Regular Maintenance | Conduct regular servicing to replace components like brushes, bearings, and diodes. |
Battery Management | Properly manage the car battery to ensure it is healthy, which directly impacts alternator performance. |
Avoid Electrical Excess | Balance electrical load to prevent overload and understand its effects on alternator efficiency. |
By understanding these causes, you can take steps to prevent alternator problems and ensure your vehicle runs smoothly.
How to Test an Alternator Diode

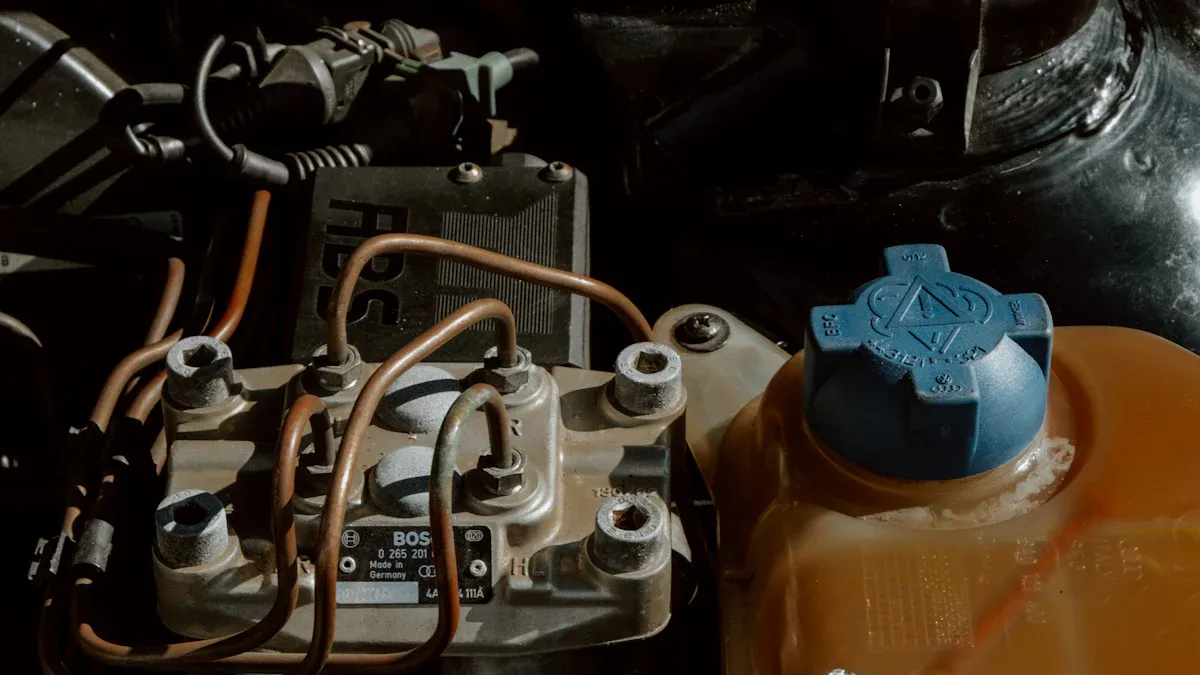
Visual Inspection
Start with a visual inspection of the alternator and its components. Look for any signs of damage, such as cracks or corrosion on the diode itself. Check the wiring and connections for any loose or frayed wires. If you see any obvious issues, it may indicate a problem with the alternator diode.
Tip: A clean and secure connection can prevent many electrical issues.
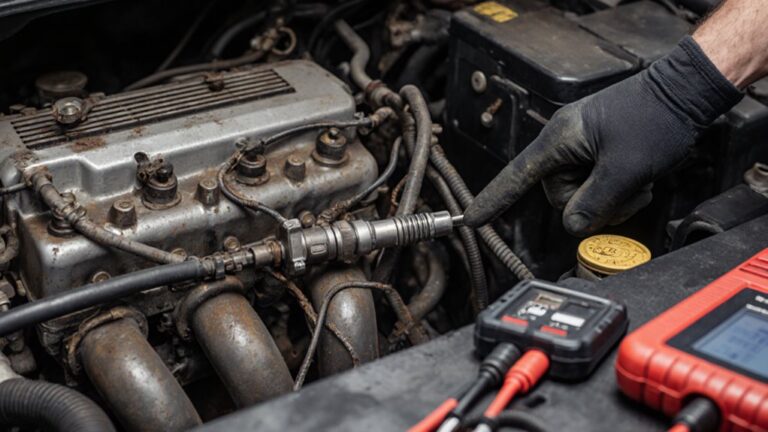
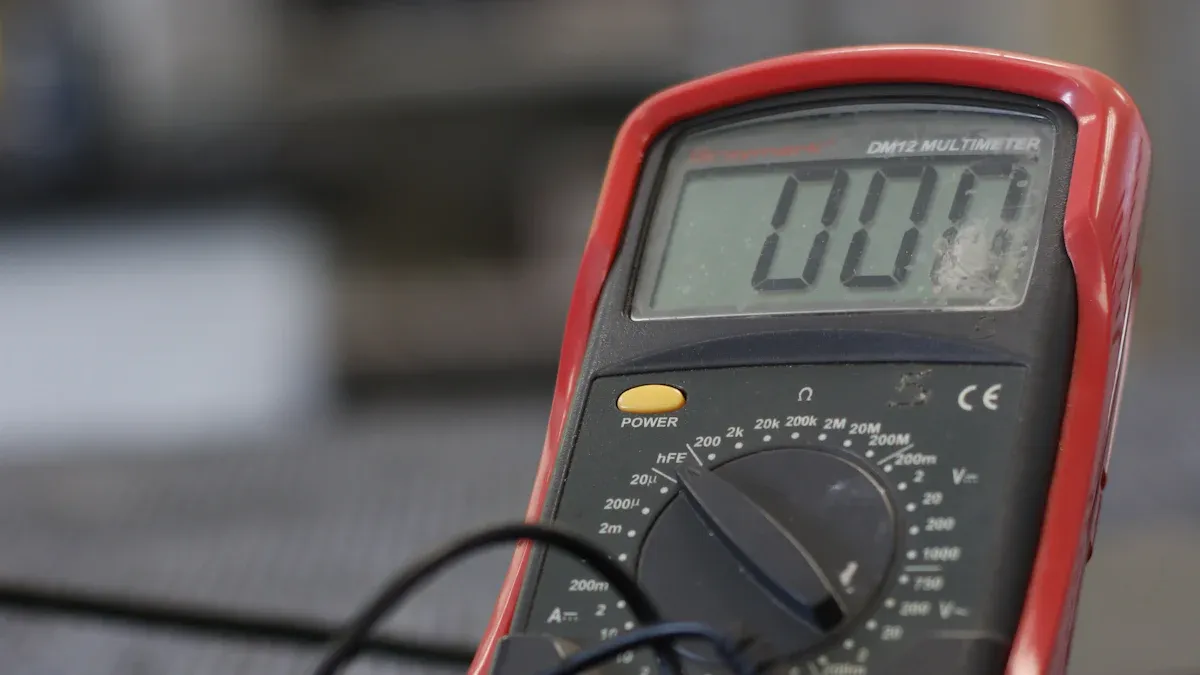
Multimeter Test
Using a multimeter is one of the most effective ways to test an alternator diode. Follow these steps:
Set the Multimeter: Turn your multimeter to the diode testing mode.
Disconnect the Battery: Always disconnect the battery before testing to avoid any electrical shock.
Test the Diode: Connect the multimeter leads to the diode terminals. You should see a voltage drop between 0.5 to 0.8 volts for a healthy diode when forward-biased.
Check Resistance: Switch the multimeter to the resistance setting. A good diode should show resistance readings between 1000 Ω to 10 MΩ when forward-biased.
This method provides accurate measurements crucial for diagnosing electrical systems.
Load Testing
Load testing is another effective method to check the alternator diode. This test measures the AC ripple voltage in the DC output. It can reveal issues that other methods might miss, such as shorted diodes that lead to high AC voltage. High AC voltage can harm sensitive electronic components.
Note: Load testing captures critical AC ripple nuances, making it a more comprehensive diagnostic approach than traditional methods that focus only on DC voltage.
Professional Testing
If you suspect serious issues, consider professional testing. Here are some advantages of professional testing compared to DIY methods:
Advantage | Professional Testing | DIY Methods |
|---|---|---|
Detection of hidden failures | Yes, through dynamic load testing and ripple analysis | No, limited to basic measurements |
Ability to simulate cranking loads | Yes | No |
Off-vehicle evaluation capability | Yes, under controlled conditions | No |
Quality control in rebuild operations | Yes | No |
Professional testing can provide a thorough evaluation of your alternator diode’s health.
Safety Precautions:
Park your vehicle in a safe location and turn off the engine.
Wear safety goggles and gloves to protect yourself during testing.
By following these steps, you can effectively test your alternator diode and ensure your vehicle’s electrical system operates smoothly.
Recognizing the symptoms of a bad alternator diode is crucial for maintaining your vehicle’s health. Symptoms like flickering lights and battery drain can indicate serious issues. If you suspect a problem, take action. Automotive experts recommend:
Get a professional diagnosis from a qualified mechanic.
Check the battery and wiring for faults.
Replace the alternator if necessary.
Perform preventative maintenance to avoid future issues.
Early detection can prevent further damage. Addressing dashboard warnings and electrical malfunctions promptly helps maintain your alternator’s efficiency. Stay proactive to keep your vehicle running smoothly!